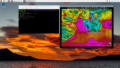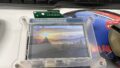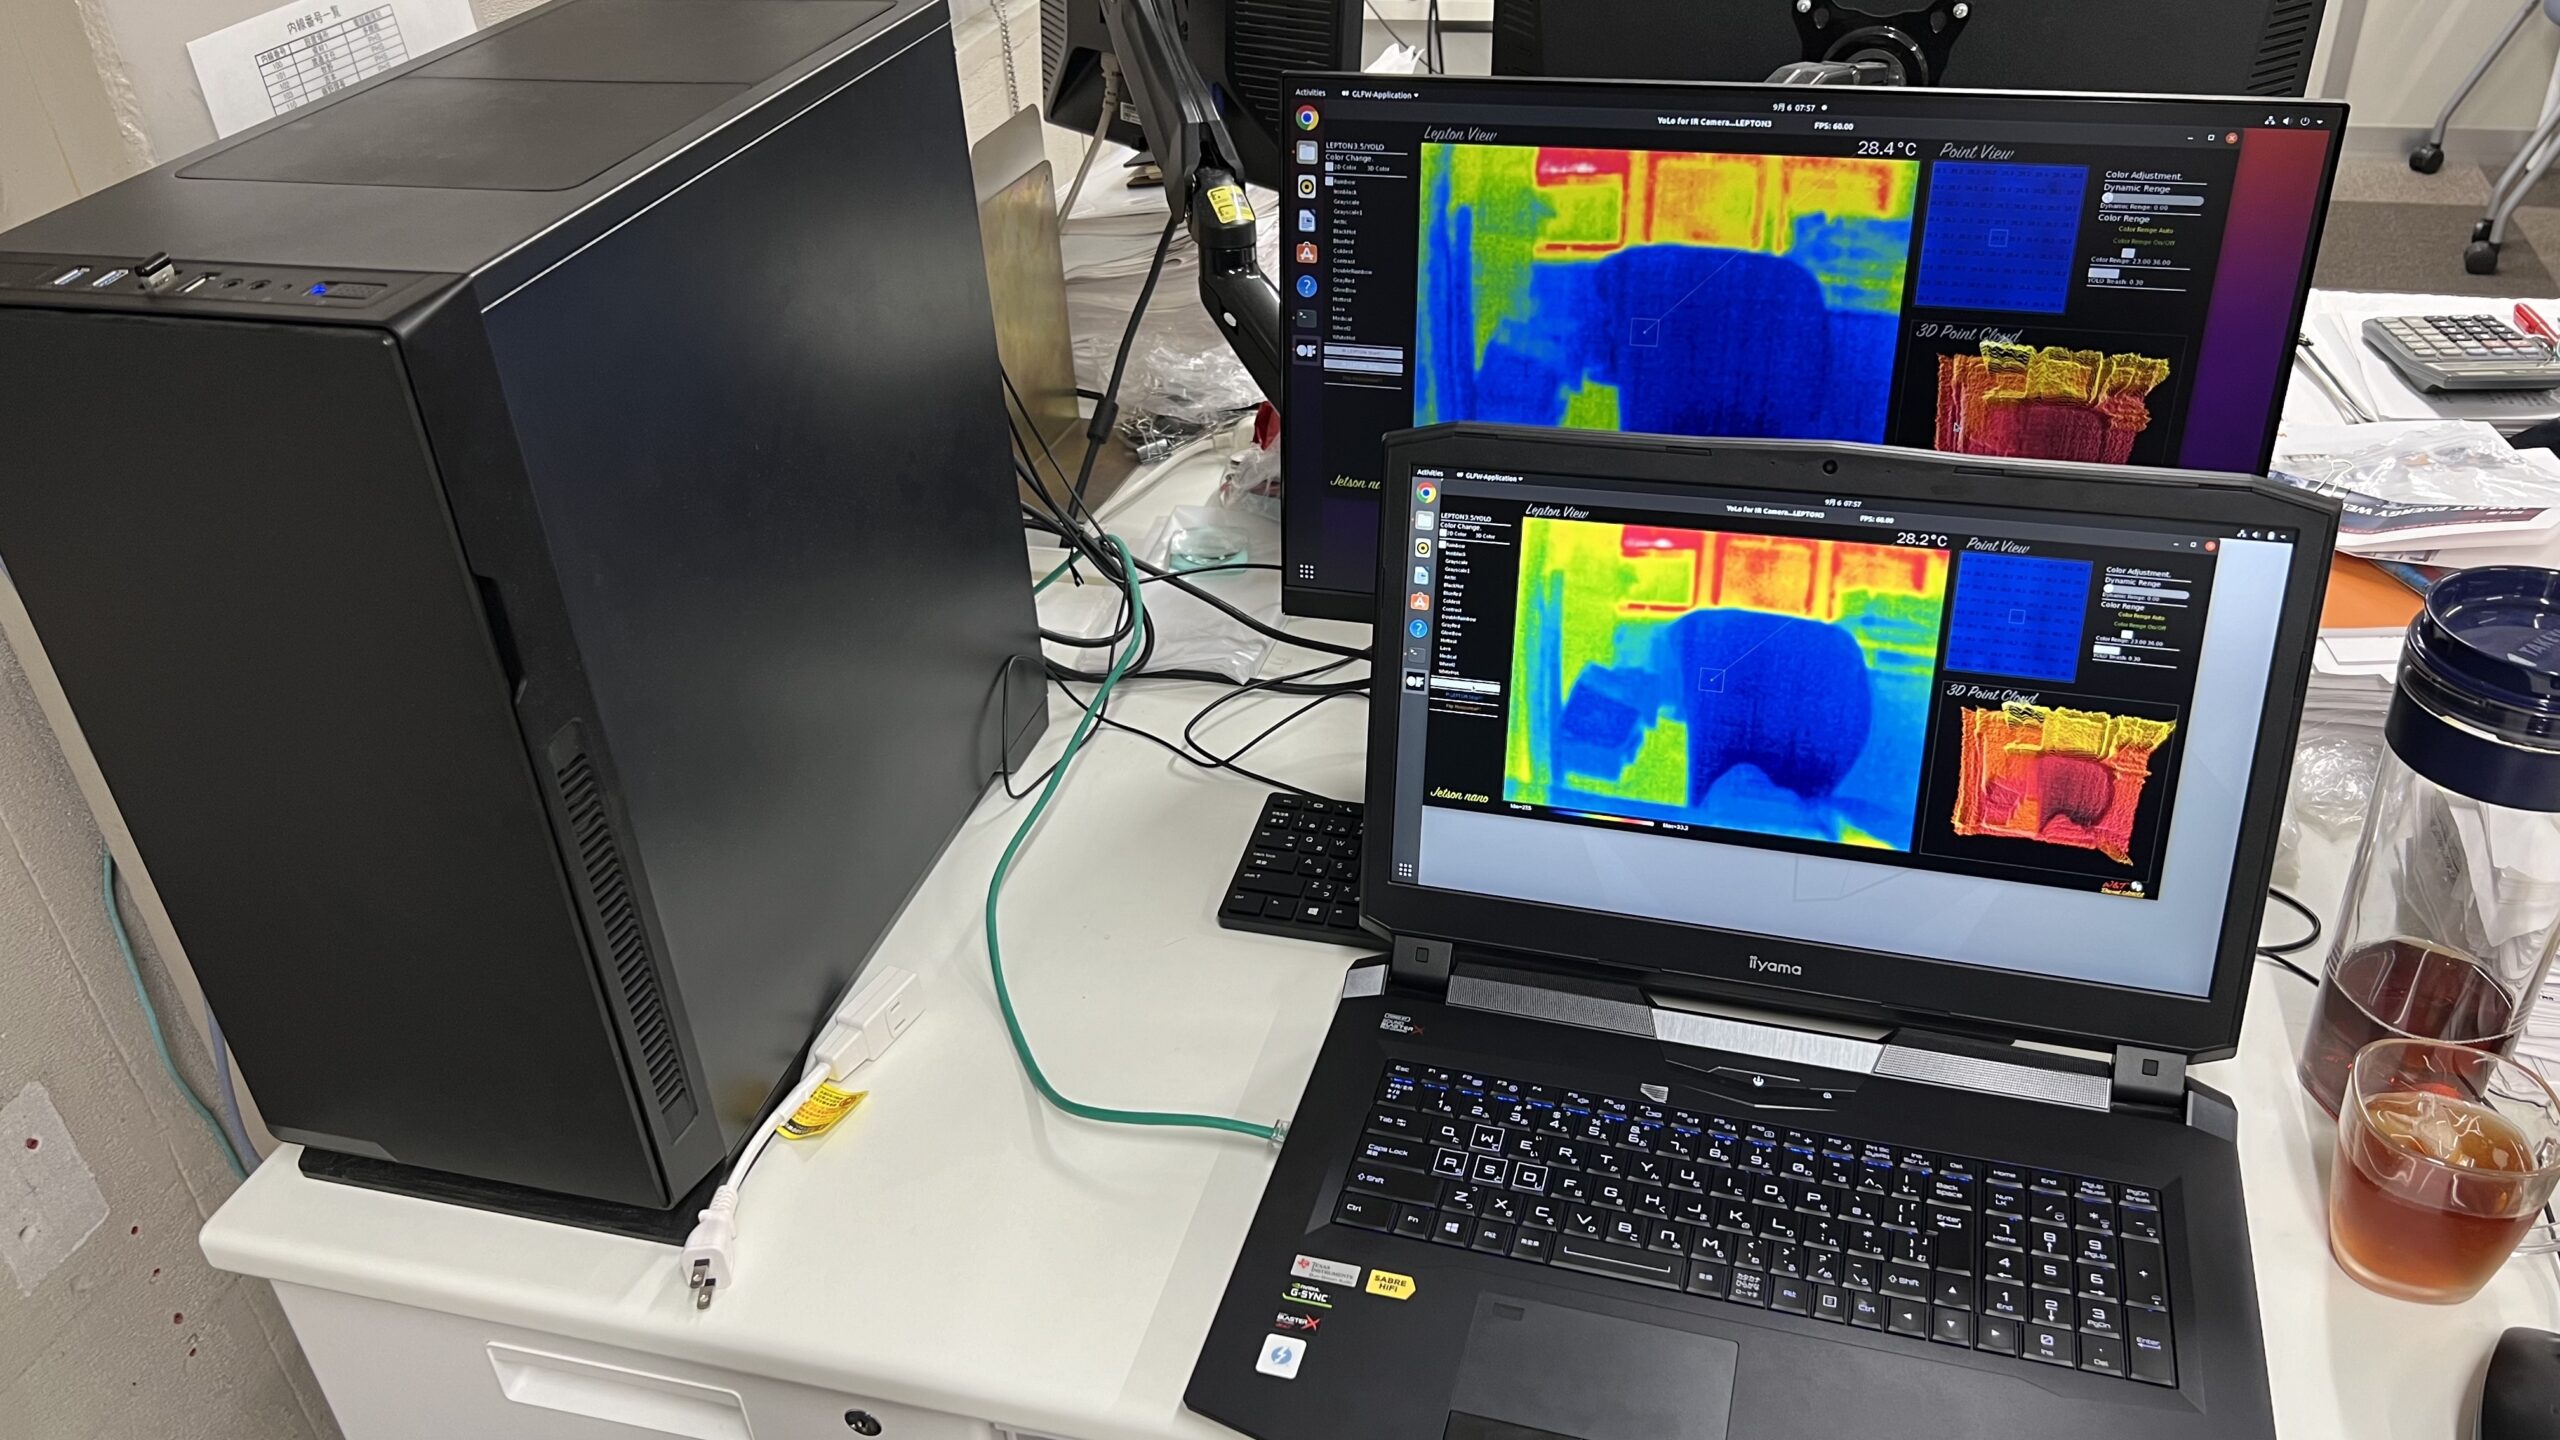
こんな感じ。
Ubuntu20or 22にthermalcam_trackerインストール
先ずはパソコンのGPUドライバーインストール
BIOSでSecure BootをDisable
$ dmesg | grep Secure
wiwao20046@wiwao20046-desktop:~$ dmesg | grep Secure
[ 0.000000] secureboot: Secure boot disabled
[ 0.007099] secureboot: Secure boot disabled
[ 7.829150] Loaded X.509 cert ‘Canonical Ltd. Secure Boot Signing: 61482aa2830d0ab2ad5af10b7250da9033ddcef0’
[ 7.829160] Loaded X.509 cert ‘Canonical Ltd. Secure Boot Signing (2017): 242ade75ac4a15e50d50c84b0d45ff3eae707a03’
[ 7.829169] Loaded X.509 cert ‘Canonical Ltd. Secure Boot Signing (ESM 2018): 365188c1d374d6b07c3c8f240f8ef722433d6a8b’
[ 7.829178] Loaded X.509 cert ‘Canonical Ltd. Secure Boot Signing (2019): c0746fd6c5da3ae827864651ad66ae47fe24b3e8’
[ 7.829186] Loaded X.509 cert ‘Canonical Ltd. Secure Boot Signing (2021 v1): a8d54bbb3825cfb94fa13c9f8a594a195c107b8d’
[ 7.829195] Loaded X.509 cert ‘Canonical Ltd. Secure Boot Signing (2021 v2): 4cf046892d6fd3c9a5b03f98d845f90851dc6a8c’
[ 7.829205] Loaded X.509 cert ‘Canonical Ltd. Secure Boot Signing (2021 v3): 100437bb6de6e469b581e61cd66bce3ef4ed53af’
[ 7.829214] Loaded X.509 cert ‘Canonical Ltd. Secure Boot Signing (Ubuntu Core 2019): c1d57b8f6b743f23ee41f4f7ee292f06eecadfb9’
nouveau if nothing display, it should be ok.
$ lsmod | grep -i nouveau
$ sudo vi /etc/modprobe.d/blacklist-nvidia-nouveau.conf
add following.
blacklist nouveau
options nouveau modset=0
$ sudo update-initramfs -u
$ ubuntu-drivers devices
wiwao20046@wiwao20046-desktop:~$ ubuntu-drivers devices
== /sys/devices/pci0000:00/0000:00:01.0/0000:01:00.0 ==
modalias : pci:v000010DEd00001B80sv00001462sd00003366bc03sc00i00
vendor : NVIDIA Corporation
model : GP104 [GeForce GTX 1080]
driver : nvidia-driver-520 – third-party non-free
driver : nvidia-driver-455 – third-party non-free
driver : nvidia-driver-530 – third-party non-free
driver : nvidia-driver-515 – third-party non-free
driver : nvidia-driver-450-server – distro non-free
driver : nvidia-driver-535-server – distro non-free
driver : nvidia-driver-470 – third-party non-free
driver : nvidia-driver-525 – third-party non-free
driver : nvidia-driver-450 – third-party non-free
driver : nvidia-driver-460 – third-party non-free
driver : nvidia-driver-390 – distro non-free
driver : nvidia-driver-470-server – distro non-free
driver : nvidia-driver-535 – third-party non-free recommended
driver : nvidia-driver-525-server – distro non-free
driver : nvidia-driver-510 – third-party non-free
driver : nvidia-driver-465 – third-party non-free
driver : nvidia-driver-495 – third-party non-free
driver : nvidia-driver-418-server – distro non-free
driver : xserver-xorg-video-nouveau – distro free builtin
$ sudo apt install nvidia-driver-(***) as per your GPU.
Reboot
$ sudo apt update && apt upgrade
$ nvidia-smi
wiwao20046@wiwao20046-desktop:~$ nvidia-smi
Wed Sep 6 08:52:26 2023
+—————————————————————————————+
| NVIDIA-SMI 535.104.05 Driver Version: 535.104.05 CUDA Version: 12.2 |
|—————————————–+———————-+———————-+
| GPU Name Persistence-M | Bus-Id Disp.A | Volatile Uncorr. ECC |
| Fan Temp Perf Pwr:Usage/Cap | Memory-Usage | GPU-Util Compute M. |
| | | MIG M. |
|=========================================+======================+======================|
| 0 NVIDIA GeForce GTX 1080 On | 00000000:01:00.0 On | N/A |
| 33% 37C P8 8W / 200W | 110MiB / 8192MiB | 1% Default |
| | | N/A |
+—————————————–+———————-+———————-+
+—————————————————————————————+
| Processes: |
| GPU GI CI PID Type Process name GPU Memory |
| ID ID Usage |
|=======================================================================================|
| 0 N/A N/A 1282 G /usr/lib/xorg/Xorg 80MiB |
| 0 N/A N/A 1557 G /usr/bin/gnome-shell 27MiB |
+—————————————————————————————+
*CUDA
#######################################################################
##########################################################################
sudo dpkg -i cuda-keyring_1.1-1_all.deb
(sudo apt-get update)
sudo apt-get -y install cuda
(sudo apt --fix-broken install)
sudo apt install aptitude
sudo aptitude install cuda
nano .bashrc
add followings.
export PATH=/usr/local/cuda/bin:${PATH}
export LD_LIBRARY_PATH=/usr/local/cuda/lib64:${LD_LIBRARY_PATH}
reboot
check nvcc -V
wiwao20046@wiwao20046-desktop:~$ nvcc -V
nvcc: NVIDIA (R) Cuda compiler driver
Copyright (c) 2005-2023 NVIDIA Corporation
Built on Tue_Aug_15_22:02:13_PDT_2023
Cuda compilation tools, release 12.2, V12.2.140
Build cuda_12.2.r12.2/compiler.33191640_0
Install cuDNN
https://developer.nvidia.com/rdp/cudnn-download
$ mv ~/Downloads/cudnn-local-repo-ubuntu2004-8.9.4.25_1.0-1_amd64.deb .
$ sudo dpkg -i cudnn-local-repo-ubuntu2004-8.9.4.25_1.0-1_amd64.deb
######################
mv ~/Downloads/cudnn-local-repo-ubuntu2204-8.9.4.25_1.0-1_amd64.deb .
mv ~/Downloads/cudnn-local-repo-ubuntu2204-8.9.5.29_1.0-1_amd64.deb .
sudo dpkg -i cudnn-local-repo-ubuntu2204-8.9.4.25_1.0-1_amd64.deb
sudo dpkg -i cudnn-local-repo-ubuntu2204-8.9.5.29_1.0-1_amd64.deb
####################
[sudo] password for wiwao:
Selecting previously unselected package cudnn-local-repo-ubuntu2004-8.9.4.25.
(Reading database … 202162 files and directories currently installed.)
Preparing to unpack cudnn-local-repo-ubuntu2004-8.9.4.25_1.0-1_amd64.deb …
Unpacking cudnn-local-repo-ubuntu2004-8.9.4.25 (1.0-1) …
Setting up cudnn-local-repo-ubuntu2004-8.9.4.25 (1.0-1) …
The public cudnn-local-repo-ubuntu2004-8.9.4.25 GPG key does not appear to be installed.
To install the key, run this command:
sudo cp /var/cudnn-local-repo-ubuntu2004-8.9.4.25/cudnn-local-4A5BA598-keyring.gpg /usr/share/keyrings/
$ sudo cp /var/cudnn-local-repo-ubuntu2004-8.9.4.25/cudnn-local-4A5BA598-keyring.gpg /usr/share/keyrings/
#####
sudo cp /var/cudnn-local-repo-ubuntu2204-8.9.4.25/cudnn-local-3C3A81D3-keyring.gpg /usr/share/keyrings/
####
$ sudo apt update
$ apt-cache search cudnn
libcudnn8 – cuDNN runtime libraries
libcudnn8-dev – cuDNN development libraries and headers
libcudnn8-samples – cuDNN samples
cudnn-local-repo-ubuntu2004-8.9.4.25 – cudnn-local repository configuration files
$ sudo apt -y install libcudnn8 libcudnn8-dev libcudnn8-samples
$ dpkg -l | grep cudnn
ii cudnn-local-repo-ubuntu2004-8.9.4.25 1.0-1 amd64 cudnn-local repository configuration files
ii libcudnn8 8.9.4.25-1+cuda12.2 amd64 cuDNN runtime libraries
ii libcudnn8-dev 8.9.4.25-1+cuda12.2 amd64 cuDNN development libraries and headers
ii libcudnn8-samples 8.9.4.25-1+cuda12.2 amd64 cuDNN samples
cat /usr/include/cudnn.h | grep cudnn
Before you install OpenCV, install openframeworks
to prevent overright original OpenCV
wget https://github.com/openframeworks/openFrameworks/releases/download/0.11.2/of_v0.11.2_linux64gcc6_release.tar.gz
mkdir of_11.2
tar vxfz of_v0.11.2_linux64gcc6_release.tar.gz -C of_11.2 --strip-components 1
cd of_11.2/scripts/linux/ubuntu
sudo ./install_dependencies.sh
cd
cd of_11.2/scripts/linux
./compileOF.sh -j4
Download Darknet__LEPTON3PI_Tracker and copy to of_11.2/apps/myApps/
https://drive.google.com/drive/folders/19iYUyUTWqFToZeHzCzcuB57SWbyQwOKK?usp=sharing
https://github.com/wiwao/ThermalCam_Tracker.git
**Add ofxUI into of_11.2/addons
cd of_11.2/addons/
copy ofxUI to addons
Please carefully to check OpenCV well installed.
Reference:
https://qengineering.eu/install-caffe-on-ubuntu-20.04-with-opencv-4.4.html
# a fresh start in the morning
$ sudo apt-get update
$ sudo apt-get upgrade
# install the dependencies
$ sudo apt-get install build-essential cmake git unzip pkg-config
$ sudo apt-get install libjpeg-dev libpng-dev libtiff-dev
$ sudo apt-get install libavcodec-dev libavformat-dev libswscale-dev
$ sudo apt-get install libgtk2.0-dev libcanberra-gtk*
$ sudo apt-get install python3-dev python3-numpy python3-pip
$ sudo apt-get install libxvidcore-dev libx264-dev libgtk-3-dev
$ sudo apt-get install libtbb2 libtbb-dev libdc1394-22-dev
$ sudo apt-get install libv4l-dev v4l-utils
$ sudo apt-get install libgstreamer1.0-dev libgstreamer-plugins-base1.0-dev
$ sudo apt-get install libvorbis-dev libxine2-dev
$ sudo apt-get install libfaac-dev libmp3lame-dev libtheora-dev
$ sudo apt-get install libopencore-amrnb-dev libopencore-amrwb-dev
$ sudo apt-get install libopenblas-dev libatlas-base-dev libblas-dev
$ sudo apt-get install liblapack-dev libeigen3-dev gfortran
$ sudo apt-get install libhdf5-dev protobuf-compiler
$ sudo apt-get install libprotobuf-dev libgoogle-glog-dev libgflags-dev
# a symlink to videodev.h
$ cd /usr/include/linux
$ sudo ln -s -f ../libv4l1-videodev.h videodev.h
$ cd ~
git clone https://github.com/opencv/opencv.git
git clone https://github.com/opencv/opencv_contrib.git
$ cd ~/opencv
$ mkdir build
$ cd build
-D CUDA_ARCH_BIN=7.5 \ RTX2080 , -D CUDA_ARCH_BIN=6.1 \ GTX1080
cmake \
-D CMAKE_BUILD_TYPE=RELEASE \
-D CMAKE_INSTALL_PREFIX=/usr/ \
-D BUILD_TIFF=ON \
-D WITH_FFMPEG=ON \
-D WITH_GSTREAMER=ON \
-D WITH_CUDA=ON \
-D WITH_CUDNN=ON \
-D WITH_CUBLAS=ON \
-D WITH_TBB=ON \
-D BUILD_TBB=ON \
-D WITH_EIGEN=ON \
-D WITH_V4L=ON \
-D WITH_LIBV4L=ON \
-D WITH_VTK=OFF \
-D WITH_QT=OFF \
-D WITH_OPENGL=ON \
-D OPENCV_ENABLE_NONFREE=ON \
-D INSTALL_C_EXAMPLES=OFF \
-D INSTALL_PYTHON_EXAMPLES=OFF \
-D BUILD_NEW_PYTHON_SUPPORT=ON \
-D OPENCV_GENERATE_PKGCONFIG=ON \
-D BUILD_TESTS=OFF \
-D OPENCV_DNN_CUDA=ON \
-D ENABLE_FAST_MATH=ON \
-D CUDA_FAST_MATH=ON \
-D OPENCV_ENABLE_NONFREE=ON \
-D CUDA_ARCH_BIN=7.5 \
-D OPENCV_EXTRA_MODULES_PATH=$HOME/opencv_contrib/modules \
-D BUILD_EXAMPLES=OFF \
-D HAVE_opencv_python3=ON \
..
make -j8
sudo make install
sudo ldconfig
sudo apt-get update
wiwao@wiwao-iiyama:~/Desktop$ python3
Python 3.10.12 (main, Jun 11 2023, 05:26:28) [GCC 11.4.0] on linux
Type “help”, “copyright”, “credits” or “license” for more information.
>>> import cv2
>>> cv2.__version__
‘4.8.0-dev’
>>>
8. install darknet
git clone https://github.com/AlexeyAB/darknet
edit makefile : change parameter 0 to 1
GPU=1
CUDNN=1
CUDNN_HALF=1
OPENCV=1
LIBSO=1
Please check your GPU architecture and commnetout accordingly

# GeForce Titan RTX, RTX 20×0, RTX 20×0 Ti, Quadro RTX x000, Tesla T4, XNOR Tensor Cores
ARCH= -gencode arch=compute_75,code=[sm_75,compute_75]
$ make -j4
remote controll Raspberrypi with sshpass.
install Sshpass
sudo apt-get install sshpass
to check ifconfig
sudo apt install net-tools
please check ssh connection with Raspberry Pi
$ ssh pi@raspberrypi.local
The authenticity of host ‘raspberrypi.local (192.168.0.182)’ can’t be established.
ECDSA key fingerprint is SHA256:kyh3u79IbcfVBsMS0CiLJofZ/hRdx67iLfVJ+rntxxx.
Are you sure you want to continue connecting (yes/no)?
please ckeck Lan or WiFi ID and replace ID of ofApp.cpp
after that make clean Darknet__LEPTON3PI_Tracker and make -j4
$ ifconfig
enp0s31f6: flags=4163<UP,BROADCAST,RUNNING,MULTICAST> mtu 1500
inet 192.168.0.167 netmask 255.255.255.0 broadcast 192.168.0.255
inet6 fe80::ef17:8dac:b4e3:654d prefixlen 64 scopeid 0x20<link>
ether 70:85:c2:58:d2:f6 txqueuelen 1000 (Ethernet)
RX packets 365531 bytes 438864962 (438.8 MB)
RX errors 0 dropped 125 overruns 0 frame 0
TX packets 80311 bytes 7357208 (7.3 MB)
TX errors 0 dropped 0 overruns 0 carrier 0 collisions 0
device interrupt 16 memory 0xdf100000-df120000
lo: flags=73<UP,LOOPBACK,RUNNING> mtu 65536
inet 127.0.0.1 netmask 255.0.0.0
inet6 ::1 prefixlen 128 scopeid 0x10<host>
loop txqueuelen 1000 (Local Loopback)
RX packets 1079 bytes 97649 (97.6 KB)
RX errors 0 dropped 0 overruns 0 frame 0
TX packets 1079 bytes 97649 (97.6 KB)
TX errors 0 dropped 0 overruns 0 carrier 0 collisions 0
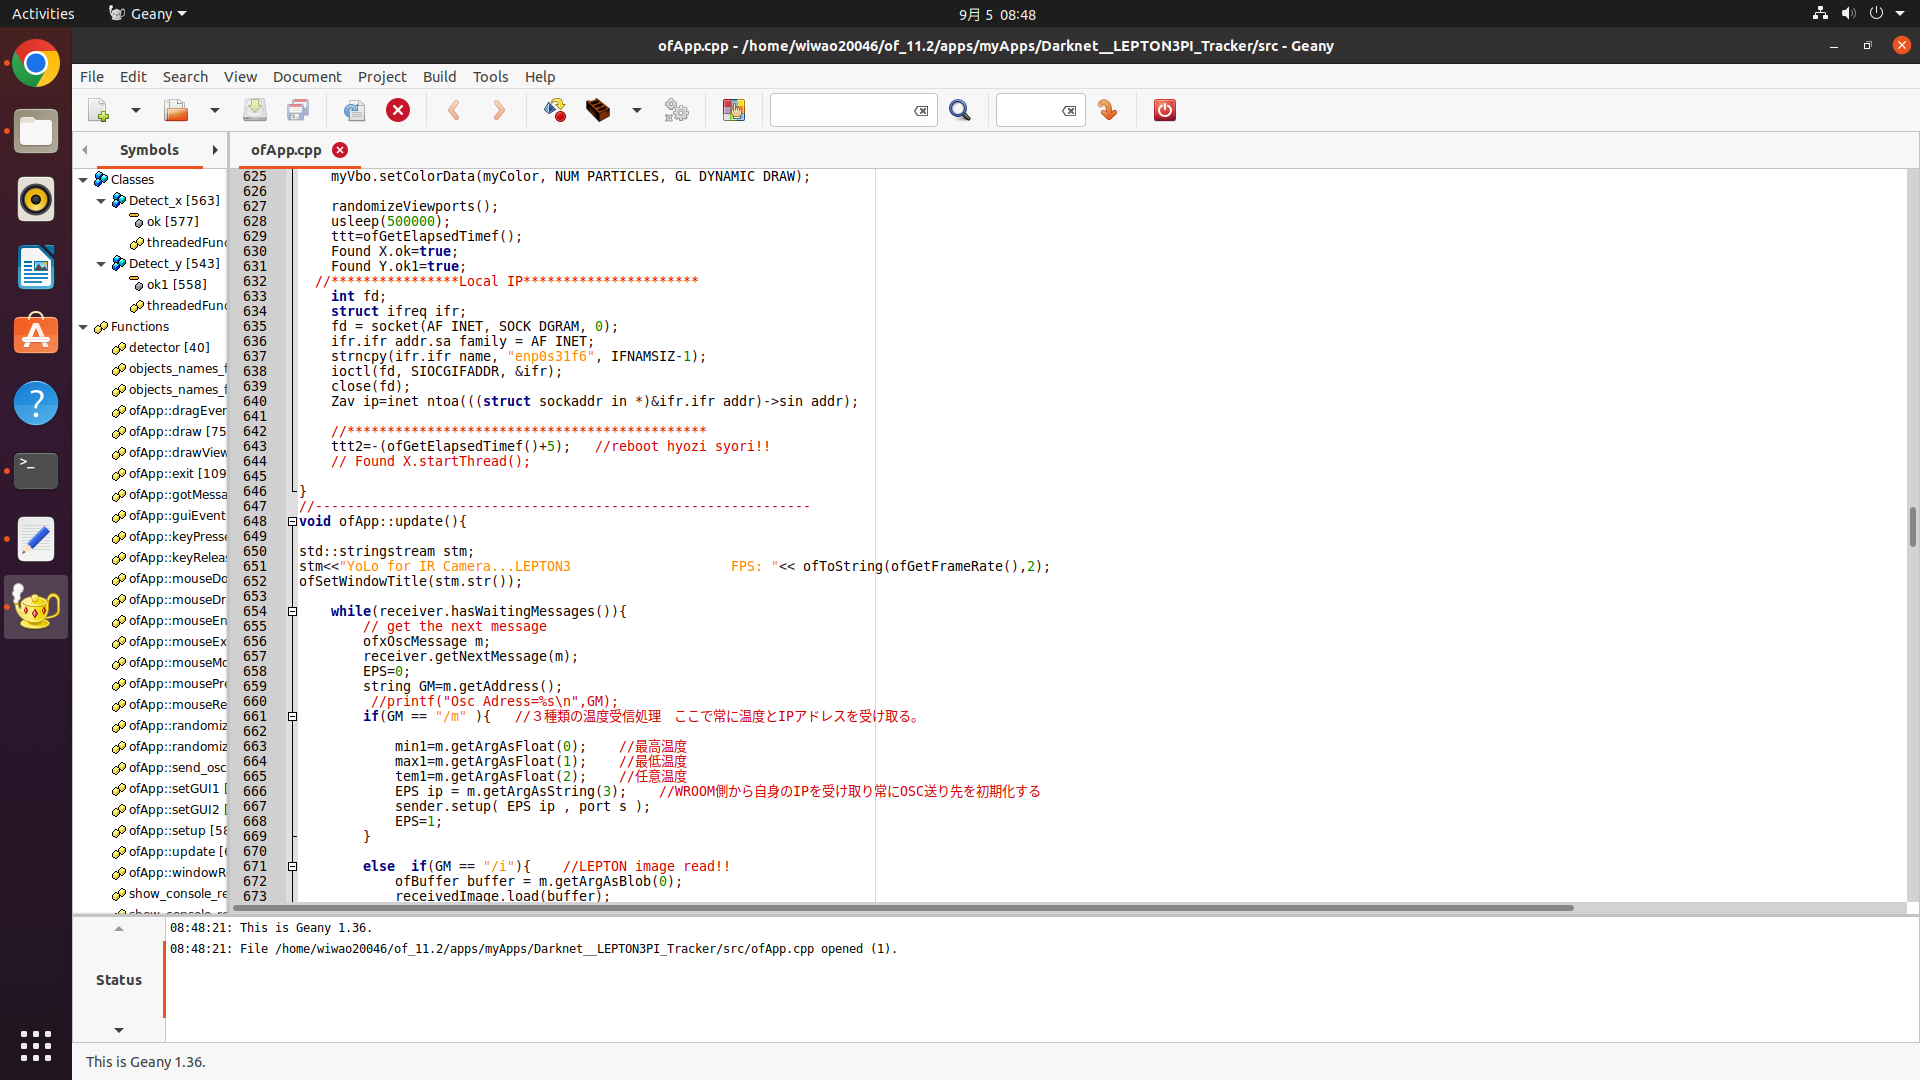
change following part at ofApp.cpp
//****************Local IP**********************
int fd;
struct ifreq ifr;
fd = socket(AF_INET, SOCK_DGRAM, 0);
ifr.ifr_addr.sa_family = AF_INET;
strncpy(ifr.ifr_name, “enp0s31f6“, IFNAMSIZ-1);
ioctl(fd, SIOCGIFADDR, &ifr);
close(fd);
Zav_ip=inet_ntoa(((struct sockaddr_in *)&ifr.ifr_addr)->sin_addr);
//*********************************************
ttt2=-(ofGetElapsedTimef()+5); //reboot hyozi syori!!
// Found_X.startThread();
}
//————————————————————–
void ofApp::update(){
* details refer to Darknet__LEPTON3PI_Tracker
7. add linkfile
sudo ln -s /usr/include/opencv4/opencv2 /usr/include/opencv2

9. add linkfile
ln -s ~/darknet/src ~/darknet/src1

(10. delete linkfile before replacing new src1 if already src1 in src, if not, next 11. add new src1 as follows at the same directory)
$ cd of_11.2/apps/myApps/Darknet__LEPTON3PI_Tracker/src

11. add new src1 as follows at the same directory
$ ln -s ~/darknet/src1
13. change ofApp.cpp folloing 3 lines from 1060 to 1075 as per the above Raspberry Pi settings (sshpass -p = your Raspberry Pi password to control from Jetson Nano)
$ sudo apt install geany(if not yet installed)
$ cd of_11.2/apps/myApps/Darknet__LEPTON3PI_Trackr/src
And open ofApp.cpp with geany and edit accorrding to your Raspberry Pi password, directory, etc., as follows;-

char Pi_Lepton_Start[200]=”sshpass -p pi ssh pi@raspberrypi.local \”export DISPLAY=:0 ; /home/pi4/Desktop/of_11.2/apps/myApps/PI_Lepton3.0_nano_x2/bin/PI_Lepton3.0_nano_x2 “;
char Pi_Lepton_Stop[150]=”sshpass -p pi ssh pi@raspberrypi.local sudo pkill -f PI_Lepton3.0_nano_x2 > /dev/null &”;
strcat(Pi_Lepton_Start,Zav_ip);
strcat(Pi_Lepton_Start,”\” > /dev/null &”);
and line 1075
char Pi_Lepton_Stop[150]=”sshpass -p pi ssh pi@raspberrypi.local sudo pkill -f PI_Lepton3.0_nano_x2 > /dev/null &”;
- 7. add linkfile
- 9. add linkfile
- (10. delete linkfile before replacing new src1 if already src1 in src, if not, next 11. add new src1 as follows at the same directory)
- 11. add new src1 as follows at the same directory
- 13. change ofApp.cpp folloing 3 lines from 1060 to 1075 as per the above Raspberry Pi settings (sshpass -p = your Raspberry Pi password to control from Jetson Nano)
- power on Raspberry Pi and connect the same local network as jetson(check ip config)
power on Raspberry Pi and connect the same local network as jetson(check ip config)
$ cd of_11.2/apps/myApps/Darknet__LEPTON3PI_Trackr
$ make clean
$ make -j4
$ cd bin
$ ./Darknet__LEPTON3PI_Trackr